Step 1: Navigate to the Communications Page
To navigate to the communications, click the Communication button in the sidebar. You should see a page that looks like this: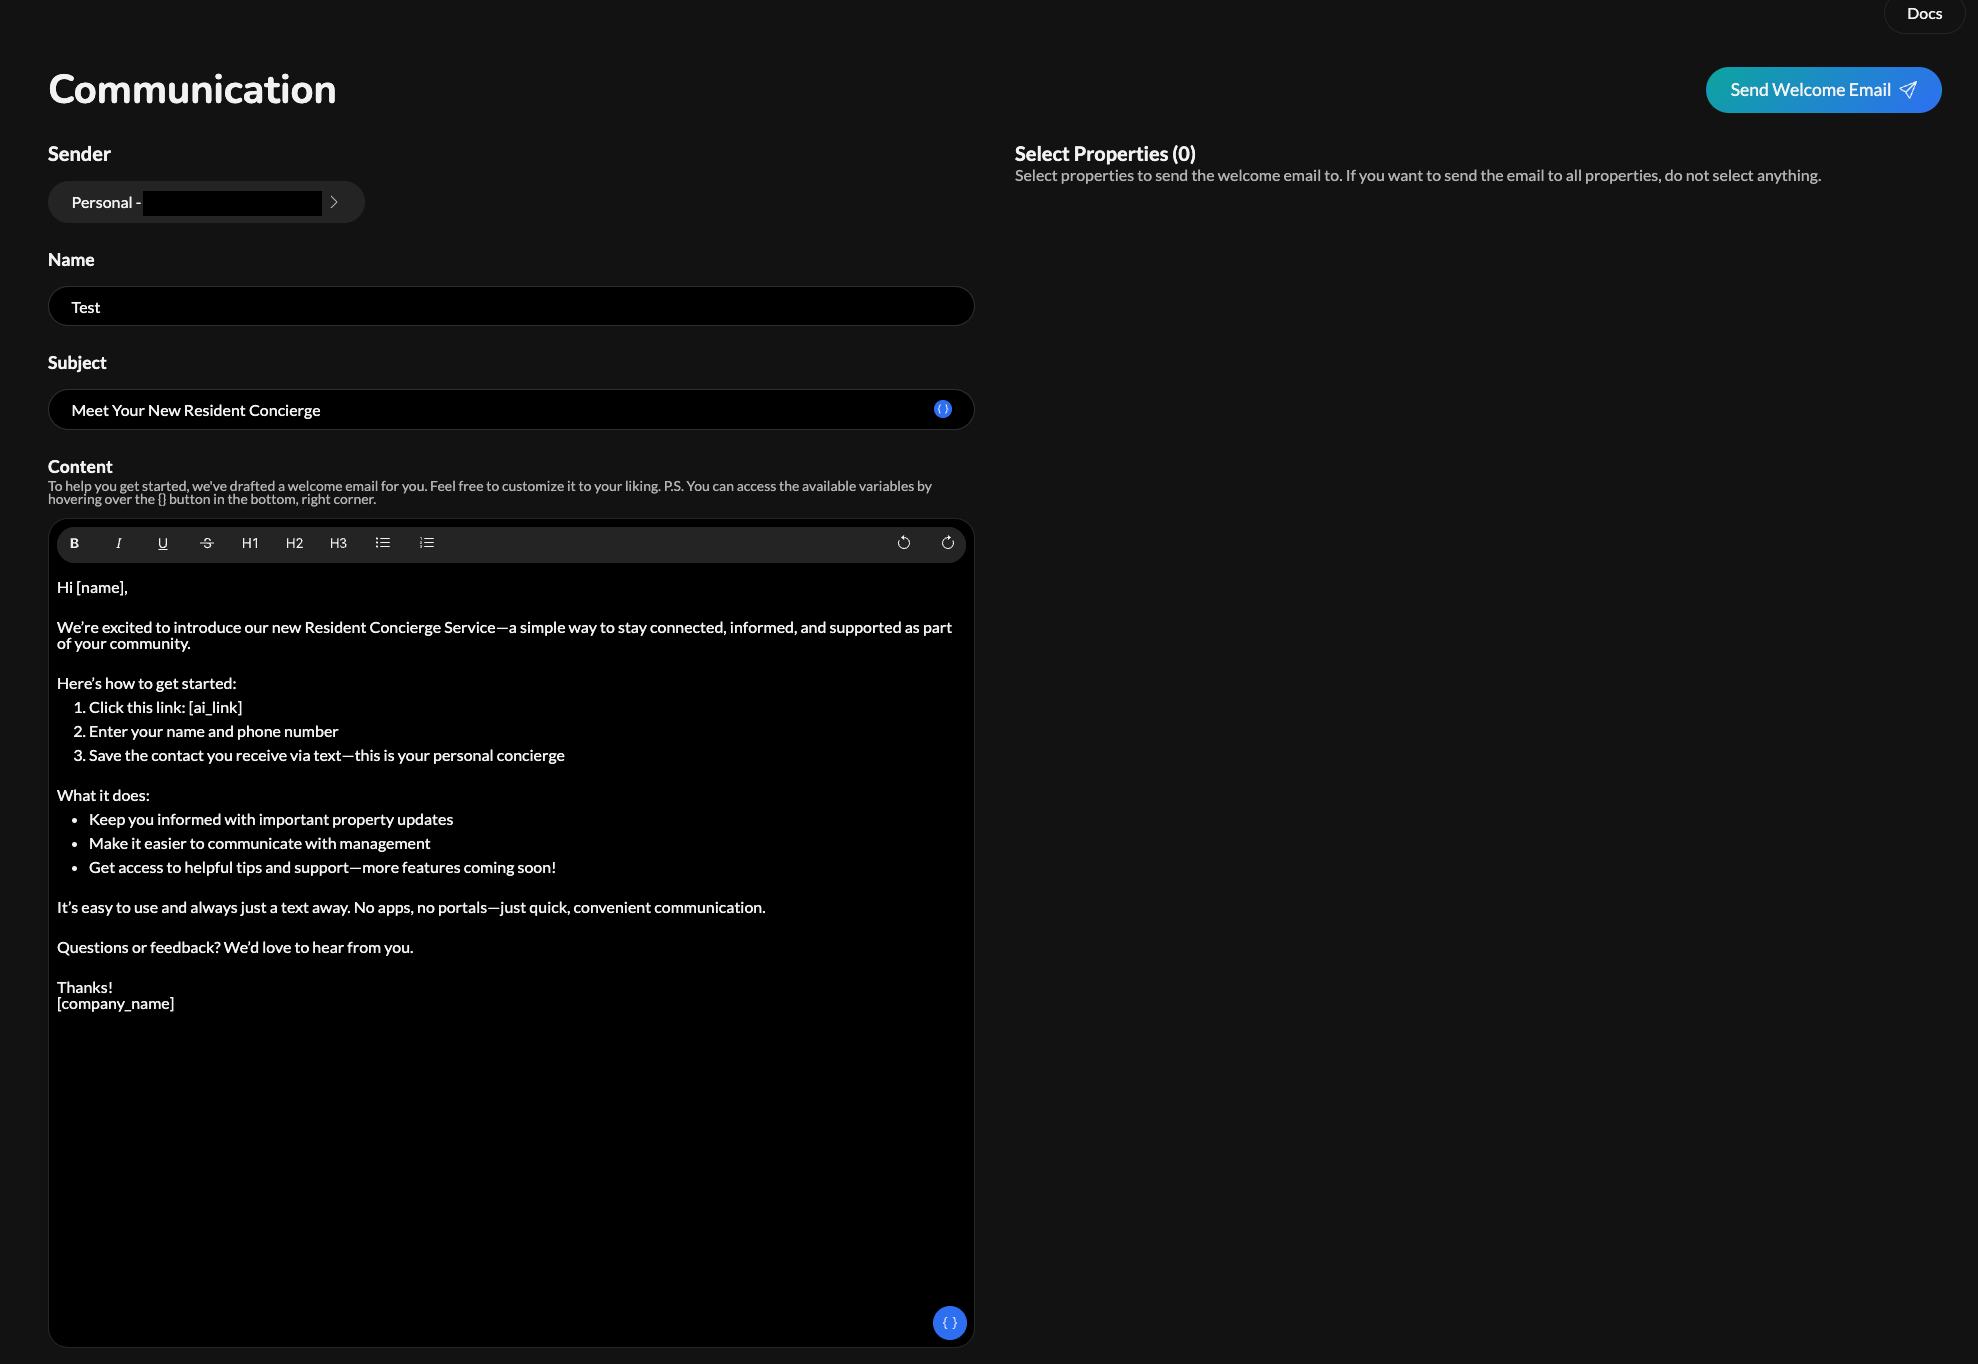 The page is separated into two halves. In the first half, you can make edits to the welcome email you want to send, while in the second half, you can select specific properties to send the welcome email from if you do not want to send the welcome email to all properties added to the FlexWurx Platform.
Note: The welcome email will only be sent to tenants who have not opted-in to FlexWurx’s SMS service. If a tenant has already opted-in to the SMS service, they will not be sent a welcome email.
Step 2: Editing the Email
You can edit the email in the first half of the page. Here an explanation of each item in the form you can edit:- Sender: The sender is the email address you want the email to be sent from. To create a sender, go here. You will always have the option to send the email from [email protected], but you can also select any sender you have verified.
- Name: This is the name that will be associated with the email address you are sending from.
- Subject: This is the subject of the email.
- Content: This is the content of the email. We have provided a default template you can edit to your choosing. You also have the ability to add variables to the email. variables should be written with brackets surrounding them (e.g. [name]). You can view all of the variables available to you by hovering over the blue button in the bottom-right corner of the content container. Note: the [ai_link] variable always needs to be included in the welcome email. This is the link to the SMS optin form.
Step 3: Selecting Properties
You can also select specific properties to send the welcome email to if you do not want to send the welcome email to all properties added to FlexWurx. To do this, just select the properties you want to send the welcome email to in the second half of the page.If you want to send the welcome email to all of your properties, do not select any of the properties.
Step 4: Sending the Email
The final step to sending a welcome email to your tenants is to send the email. Once you have finished editing your welcome email, click the Send Welcome Email button in the top-right corner of the page. When you click this, a modal should popup, asking you to approve and send the welcome email. If you selected a subset of properties to send the email to, it will also provide a list of the properties you selected. When you are ready to send the email, click the Send button and the email will be sent.If you have any issues or need support, feel free to reach out to [email protected].